Starting a self-portrait project? Want to capture beautiful portrait photos using nothing but a camera, a tripod, and your own ingenuity? Self-portrait photography can be an outstanding creative outlet, and it can be a lot of fun, too. But it can also be very challenging; you have to deal with a variety of factors, including lighting, gear choice, camera settings, composition, and more – and that’s where this article comes in handy.
Below, I share my favorite techniques and secrets for instant success. I also include plenty of self-portrait ideas and examples so you can gain inspiration along the way. Doing self-portrait photography isn’t always easy, especially when you’re just beginning. But as this article shows, once you get the basics down, your images will instantly improve – and you’ll be ready to create bigger, better, and even breathtaking photos.
Let’s get started.
1. Use the right camera and lens
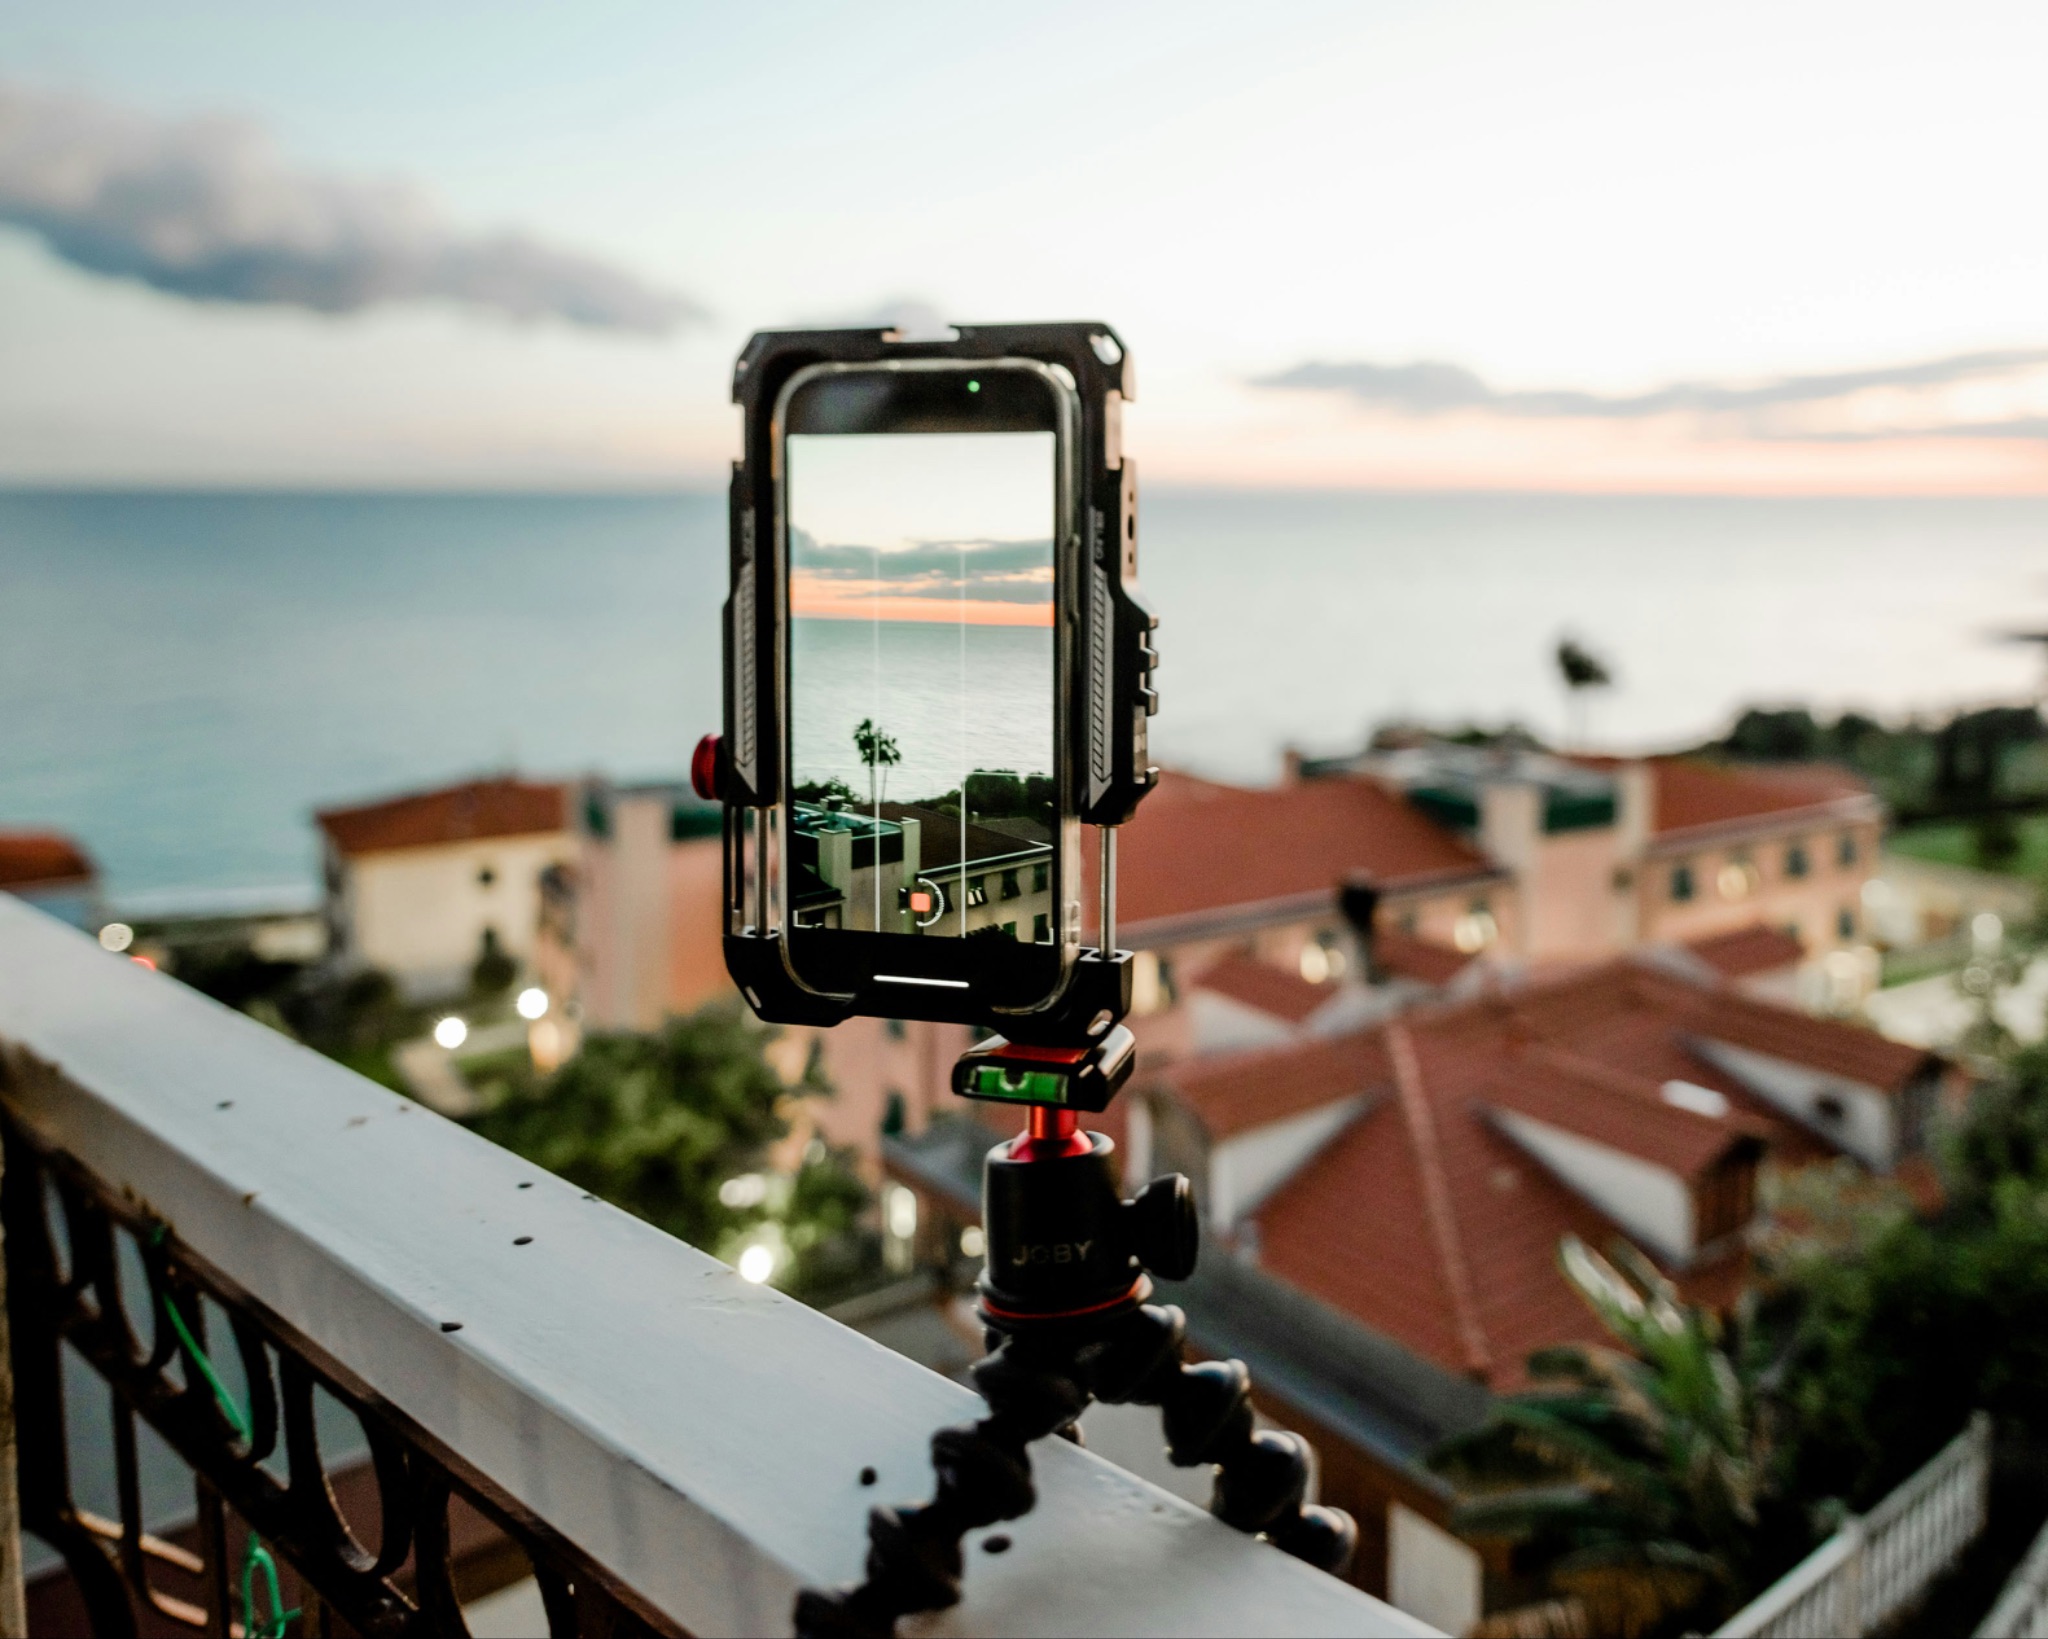
The simplest self-portraits can be captured with a minimalist setup (i.e., a smartphone camera). However, to make things easier on yourself and ensure the highest-quality results, I do have a few additional recommendations.
First, it’s important that you grab an interchangeable lens camera, such as a DSLR or mirrorless model. The specifics aren’t important; you simply want a camera that is capable of high-resolution, tack-sharp images. However, if you’re struggling to choose, consider grabbing a portrait photography camera that offers solid resolution, decent low-light capabilities, and access to plenty of excellent lenses.
Interchangeable lens cameras don’t include built-in lenses, so if you do follow the advice I’ve given above, you’ll need to purchase a lens to mount on your camera body. A good starter lens is a 50mm f/1.8, which is offered by nearly every major camera brand, should be relatively cheap, and offers a very natural perspective. Additionally, thanks to the f/1.8 maximum aperture, you can create stunning background bokeh in your self-portrait shots.
If you’re a fan of wider-angle images – such as full-body shots – you might consider purchasing a 35mm f/1.8 lens instead. And if you think you might want to capture a range of shots at different focal lengths, including wider environmental images and tighter headshots, you could splurge on a 24-70mm f/2.8 zoom, though – fair warning! – it’ll be very expensive.
2. Purchase a tripod and a remote release
If you’re serious about doing self-portrait photography, once you grab a camera and lens, a tripod should be your next purchase. Technically, you can get creative and prop your camera up on a table or some books, but a tripod will make your life so much easier.
What tripod should you buy? If you plan to shoot your self-portraits at night and without strong artificial lighting, then you will want to make sure your tripod is relatively sturdy (especially if you’ll be working outdoors). And if you plan to go for long hikes with your tripod, you’ll want to pick a model that’s lightweight and portable.
However, it’s important that you don’t worry too much about your specific tripod pick. At the end of the day, most decent-quality tripods will do a good job for the average self-portrait shooter. After all, you really just need it to hold your camera while you pose!
At this point, you should have a camera, a lens, and a tripod, which means you can declare your setup complete. But I’d also recommend one more (small) purchase: A remote shutter release. It’ll allow you to fire your camera from a distance using a handheld remote control; that way, you can trigger the shutter as you pose, rather than using the 10-second self-timer and running into position before the camera fires.
Fortunately, remote releases don’t cost much, but they can be an absolute game-changer!
3. Think about the light
Lighting is a key part of all portrait photography, and self-portrait shooting is no exception. If you want to capture great shots, you’ll need to learn to work with the light so you can create various moods and effects.
When you’re just getting started, I’d recommend shooting outdoors or relying on window light. If you’re photographing outside, try heading out on cloudy days or just before the sun sets. That way, you’ll be able to capture soft, flattering images that avoid harsh shadows.
Window light is also nice and often allows for a bit more drama. Experiment by standing near the window and capturing photos with different lighting angles. Notice how your images change as you position yourself so the light streams in from off to the side, from directly in front of you, from behind you, at a 45-degree angle, and so on.
Once you understand the lighting basics, you may wish to invest in a speedlight, a light stand, and maybe a softbox. You can grab the whole setup for around $100 to $200, or you can just grab a flash and a light stand in the $50 to $100 range.
Start by learning the conventional portrait lighting patterns, all of which can look great in self-portraits. Then try to improvise and see what you can create. You can eventually add additional speedlights and modifiers to your lighting kit, which will allow you to create a wide variety of looks (though there is plenty you can do with a single-light setup, so don’t feel you need to rush out and buy multiple flashes immediately!).
Pro tip: If you want to improve your artificial lighting skills fast, consider purchasing a software program that offers tethered shooting, like Lightroom or Capture One. (You might even be able to shoot tethered using software provided by your camera manufacturer.) This simply allows you to see your images on your desktop computer moments after you’ve hit the shutter button, and it’s a great way to inspect the results on a larger screen for technical, compositional, or lighting errors.
4. Use hobbies, interests, and other art to inspire ideas
If you’ve just started capturing self-portraits, you may have a few ideas, but you’re probably struggling to come up with enough inspiration to shoot dozens or hundreds of images. Don’t worry; this happens to pretty much everyone when they begin photographing. Fortunately, developing self-portrait ideas isn’t as hard as you think. You can find inspiration all around. For instance:
- Think about your favorite hobbies. Can you create any self-portraits that rely on its themes or props?
- Identify your interests, be it history, science, mathematics, old architecture, or cars. How can you turn them into self-portraits?
I’d also encourage you to look at other art. Don’t copy, but find inspiration in movies, TV, painting, and even other photography. Every time you see something that interests you, write it down. Pretty soon, you’ll have a long list of possible portraits!
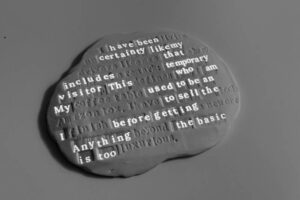
By the way, you don’t have to stick to hobbies, interests, and visual arts. You might think about the settings you pass on the way to work or even your physical characteristics. One of my prominent features is my bald head, so I created a self-portrait that used it to my advantage:
At the end of the day, it’s really all about what you find compelling. Identify that first, then the ideas will flow!
One final note: Self-portraits are generally planned, but they don’t have to be. You might consider walking or driving around with your camera and tripod – in your neighborhood, in a park, or in the nearest city. Just see what you can find!
5. Include a prop (or three)
Self-portrait photography doesn’t need to just be about the self. You can also include various props that add interest, make your shots more complex, and are all-around fun to use.
You don’t want to go prop-crazy – too many items can be highly distracting – but I’d recommend throwing in an element or two when it fits the idea and composition. Here are a few prop ideas, though I certainly encourage you to get creative:
- Hats
- Canes
- Coats
- Balloons
- Pets
- Toys
- Cooking implements
- Sports gear
Note that the best props will add to the portrait without taking attention away from the main subject (i.e., you!). If you’re not sure whether a prop will work, feel free to try it out and see what you think. If you’re not a fan, you can always reshoot!
6. Every self-portrait should have a theme
When you’re just starting out, you may be tempted to set up your camera (and lighting), select a pose, and start shooting. But that will get old very quickly, and even if you take the best self-portraits in the world, you’re going to get bored after a few days.
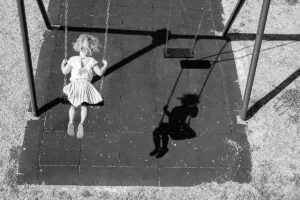
Instead, use the interests I talked about earlier in the article to create themes. Work with props, backgrounds, and even other people to create images that offer some concept, tell some story, or send a message. It doesn’t have to be serious, either; here, I asked my pregnant wife to participate in a silly self-portrait:
Your theme doesn’t need to be complex, but it should be present. Even a small prop or two can make a big difference.
By the way, a theme doesn’t necessarily need materials. As I discuss later in this article, you can use a specific emotion to anchor the shot, which often relies purely on your acting skills.
7. Don’t forget about the background
Since you’re a self-portrait photographer, you’re probably tempted to focus on the subject and (maybe?) a few props.
But the background matters, too. In fact, a good background will elevate your shot to the next level, while a bad background will relegate it straight to the trash.
Fortunately, once you understand the importance of a good background, it’s easy to incorporate one into your portraits. For instance, a neutral background is a great way to emphasize your subject:
While a black background creates drama and emphasizes emotion:
As you come up with more sophisticated ideas, you might consider adding a colorful backdrop, or even a background that provides context:
If you’d prefer to use natural backdrops (e.g., buildings in the city, trees at the park), you can get great results, but you’ll give up a measure of control. One way to handle a background that looks nice but is a little too distracting is with a long lens and a wide aperture; you’ll get a nice, blurred background that provides some context without overwhelming the viewer.
8. Dress the part
I’ve discussed the importance of themes and props, but I’d also like to direct your attention to clothes, which can add that final touch to an already-strong photo.
Think about your chosen theme, then pick clothing that matches. You don’t need to invent a whole outfit, of course; just determine the parts of your body that will appear in the image and give yourself a quick makeover.
If you really like your idea, you might even consider shopping for clothes at a thrift store. Maybe add an accessory or two, like glasses and a hat.
Also, remember that you’re often playing a part, which means you should do your best to act. You don’t have to give an Oscar-worthy performance, but really give it your all and see how things turn out. If you shoot tethered, you can always check to see whether the acting works or whether you’re better off with a more generic approach. (Alternatively, you can check the back of your LCD screen.)
For this shot, I made sure to wear a brimmed hat and leather gloves, which really created that “farmer” effect:
9. Pay attention to the composition
As you set up each self-portrait shot, make sure you know exactly where the edges of the frame sit – and how you fit within them. This can dramatically affect the overall feel of the shot, and it can be the difference between a great image and a bland one.
For instance, by positioning yourself dead-center in the middle of the frame, you’ll get an intense, in-your-face result – and by standing off to the side, the image will feel more dynamic and less confrontational. I recommend reading up on basic portrait photography composition, but it’s often a good idea to try out a handful of different options and see what you like best.
At the end of the day, each photographer – and each photoshoot – is different. Don’t feel you have to compose your photos a certain way just because it’s what lots of other photographers are doing. There are many ways to create a stunning shot, and you certainly don’t have to follow Instagram trends to get great results.
10. Portray emotion
Want your photos to look boring? Then act boring. After all, the facial and body expressions you convey can massively impact a photo’s tone.
So instead of standing in front of the camera and staring, do what you can to create emotion. I suggest aiming for an over-the-top expression, like this:
In my experience, the more emotion you can show, the better the photo will look.
Of course, this is really all down to personal taste. I’d recommend experimenting with different levels of emotion – subtle, intense, and wild – until you arrive at an effect you like. You don’t need to remain consistent from shot to shot, however; one theme might call for an extreme expression, while another might be better complemented by a milder look.
I’d also recommend you consider your expression in the context of the self-portrait theme. An angry expression may seem out of place when used in a chess photo, while a mild expression might seem confusing if the background is post-apocalyptic.
So once you have your theme, think about expression. Act as best you can. And check your results to see if any adjustments are needed!
Speaking of checking results:
11. Look at your photos
The fastest way to improve your self-portrait photography is by evaluating your work with a critical eye.
So as soon as you finish a shoot (or a few hours afterward, if you want to gain some distance), take a look at your images. Identify what you like about each shot. Identify what you dislike. Then, while the photoshoot is still fresh in your mind, note what you should modify for your next self-portrait.
Pretty soon, you’ll have a sense of what you want to include and exclude from your self-portraits. And you’ll have a little book of lessons learned from each photoshoot.
Of course, if a photo didn’t work, you can always resolve to try again another day. And if it did work, then appreciate the result. Share it with friends. Post it to social media! (Though before you share the image, I’d recommend doing a bit of processing, as I discuss in the next section.)
12. Post-process your self-portraits
Even once you’ve nailed the camera setup, the settings, the lighting, and the composition, you still have one last step in the standard photography workflow: editing.
By subtly adjusting the exposure, the white balance, the contrast, and the colors, you can make your images far more compelling and refined. Pretty much every professional edits their portraits, and if you can learn to do the same, your photos will look that much better.
Grab a subscription (or a trial) to Lightroom, Capture One, ON1 Photo RAW, or Luminar. Then dive in and just experiment with different editing tools and sliders. Focus on the basics, but don’t be afraid to have fun with more complex tools, such as color grading and vignetting. At the same time, don’t go overboard; beginners often crank up the processing, which results in unnatural-looking colors and tones. Have fun, but keep it authentic!
Self-portrait photography tips: final words
Self-portraits are incredibly rewarding, but starting out – developing ideas, selecting gear, working with backgrounds – can be a little daunting. Hopefully, you now feel ready to capture some stunning self-portraits.
So grab a piece of paper. Jot down some ideas. Then have fun shooting!
This article was written by portrait photographer Nathan Marx. To learn more about Nathan, check out his blog.

Read more from our Tips & Tutorials category
Guest Contributor
This post was written by a guest contributor to dPS.
Please see their details in the post above.
Become a Contributor: Check out Write for DPS page for details about how YOU can share your photography tips with the DPS community.
I need help with...


 English (US) ·