High-contrast photography is tough to pull off – but in this article, I’m going to give you plenty of tried-and-tested strategies that guarantee amazing results.
While some of my high-contrast photography tips explain how to embrace the power of contrasty lighting, others encourage you to reduce contrast for beautifully detailed images.
So whether your goal is to create dramatic, high-contrast images or whether you want to capture high dynamic range scenes with ease, I’ve got you covered.
Let’s do this!
What is high-contrast photography?
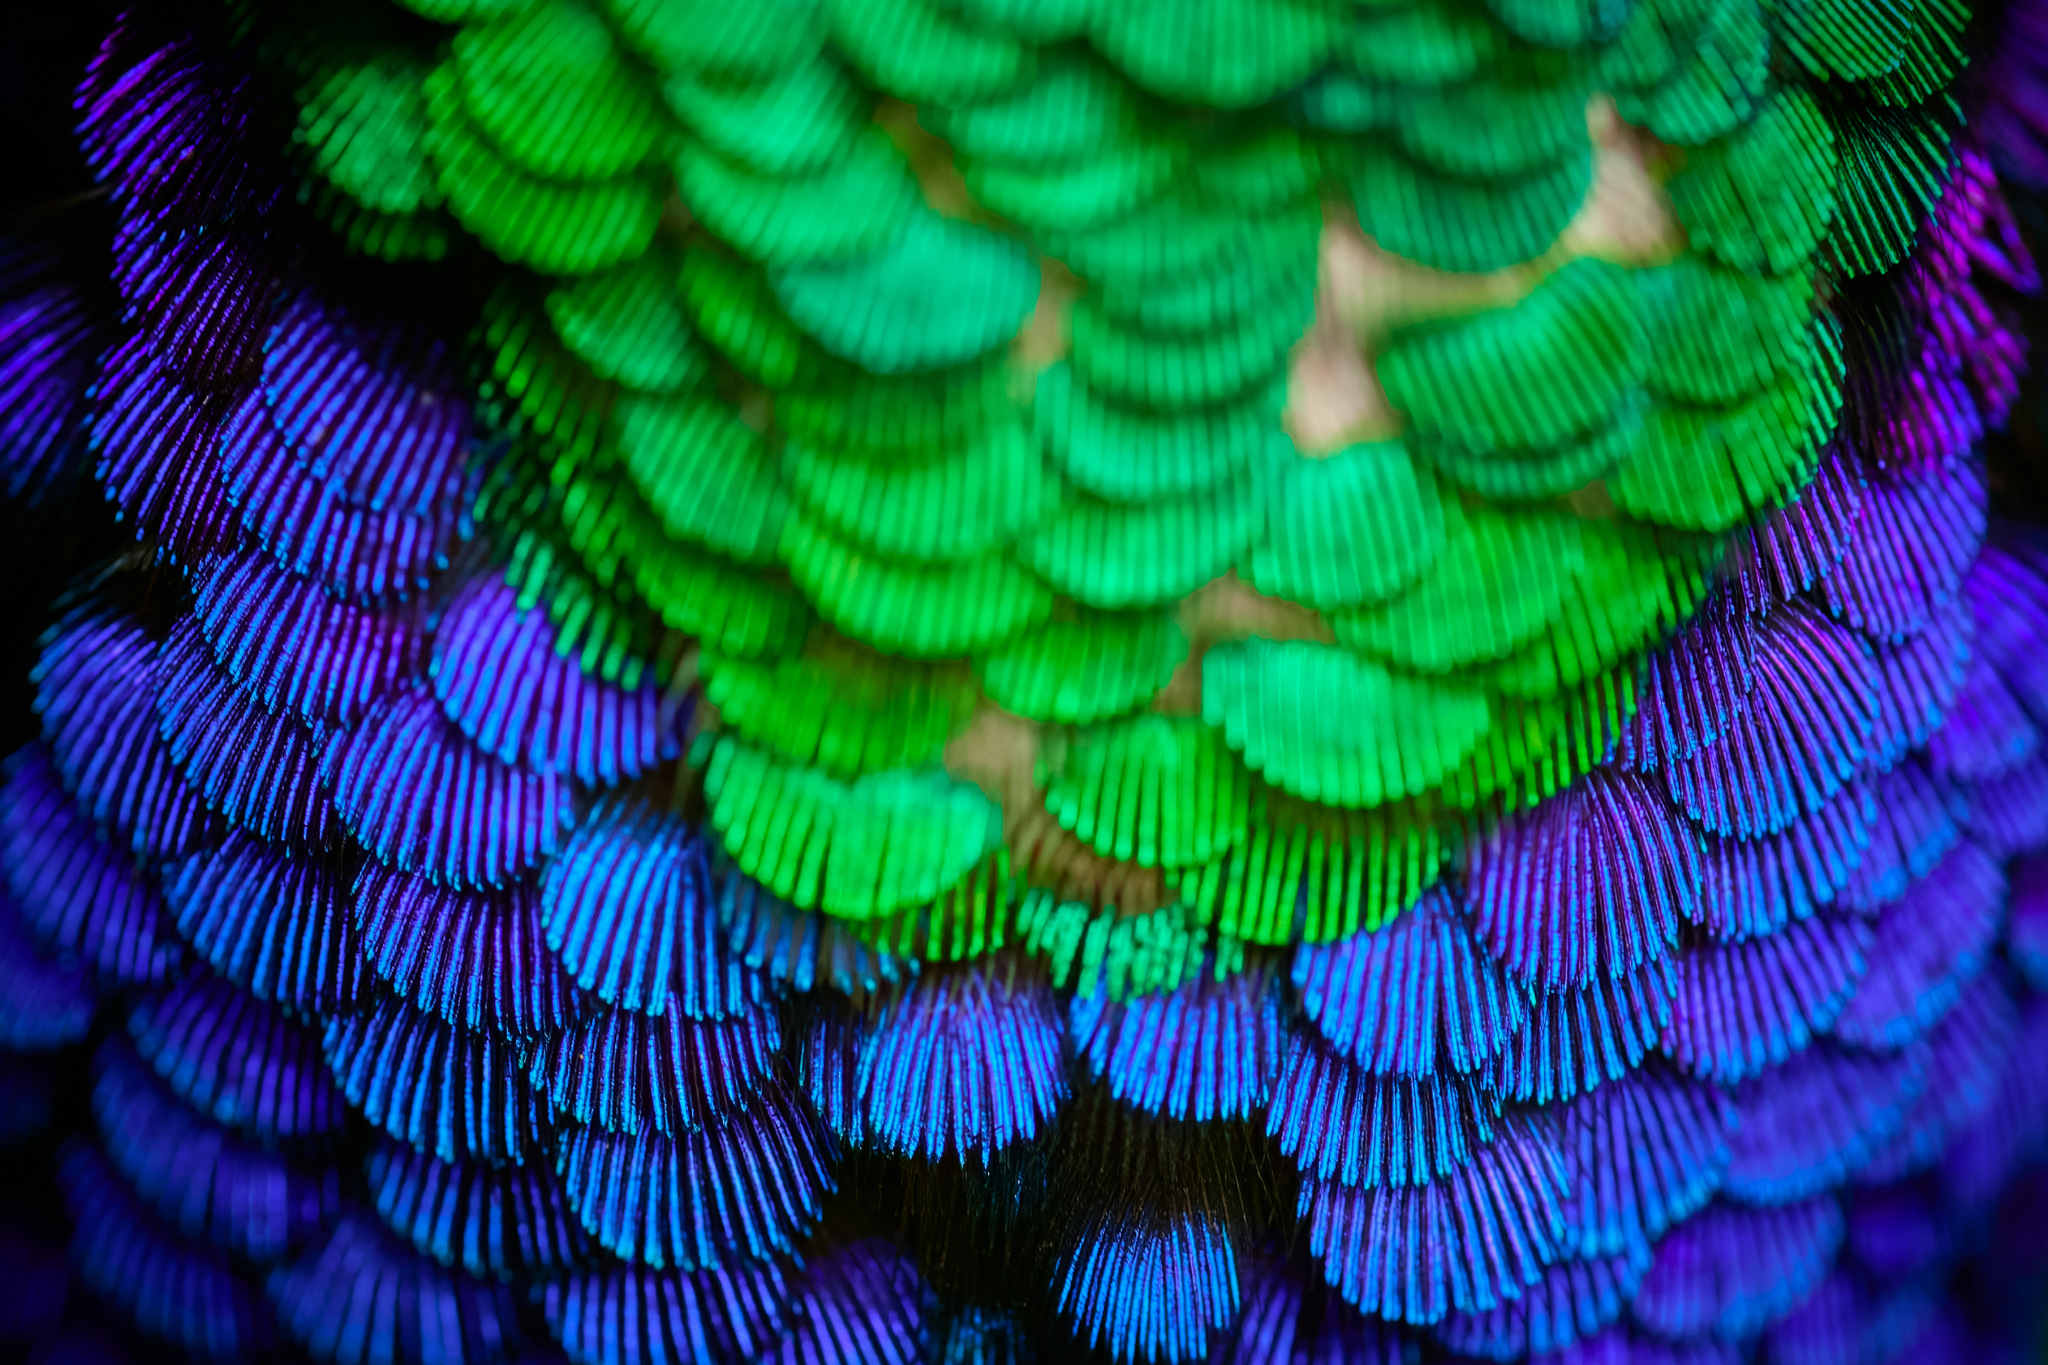
Technically, high-contrast photography refers to images with significant variation between light and dark tones. Here’s a simple example, in which bright colors appear across the horse’s forehead while the background remains relatively dark and shadowy:

However, high-contrast photography is also used to refer to photographs of high-contrast scenes. For instance, if you take an image of a sunset – with a bright sky and a dark foreground – you have captured a high-contrast photo, regardless of whether the final image features heavy contrast.
In other words, you might use various techniques to reduce contrast in the final shot, yet because the original scene contained high-contrast elements, it would still be labeled as a “high-contrast” photo. Make sense?
What causes high-contrast scenes?
High-contrast scenes are caused by hard light and heavy shadows.
Note that both of these elements must generally be present to do high-contrast photography. Hard light on its own will simply create a bright subject, while heavy shadows will only bring darkness.
Together, however, the light and the shadows will produce a high-contrast effect.
You’ll frequently get high-contrast scenes around midday when the sun is high in the sky; the sun is bright, and it produces shadows that are hard edged and heavy.
You can also get high-contrast scenes in the early morning or early evening. The low sun produces long shadows while lighting portions of subjects, resulting in contrasty photo opportunities.
On the other hand, cloudy days produce consistently low-contrast photography (thanks to the soft, diffused light and weak shadows).
Therefore, if your goal is to produce intense, dramatic, high-contrast photos, you’ll need to shoot at midday or during the golden hours.
And if your goal is to reduce contrast, a good first step is to head out on cloudy days or during the blue hour.
How to approach high-contrast photography: 6 tips
In this section, I explain how you can approach high-contrast photography, including methods to incorporate more detail into high-contrast scenes, as well as techniques to enhance high-contrast drama.
1. Use post-production to decrease contrast

If you’ve captured an image in high-contrast lighting but you’d prefer to show lots of detail, then you have a simple fix:
You can open the file in a program such as Lightroom, then reduce the contrast.
For instance, you might try pushing the Contrast slider in the negative direction. Alternatively, you can drop the Highlights slider (to reduce the bright tones in your photo) and boost the Shadows slider (to bring back detail in the dark tones).
While post-production does offer lots of opportunities for adjusting contrast, it’s not perfect. There are limits to the amount of detail you can recover, so you may wish to take a different approach, such as:
2. Convert to black and white

While high-contrast color photos don’t always look good, you can often salvage a contrasty shot with one minor adjustment:
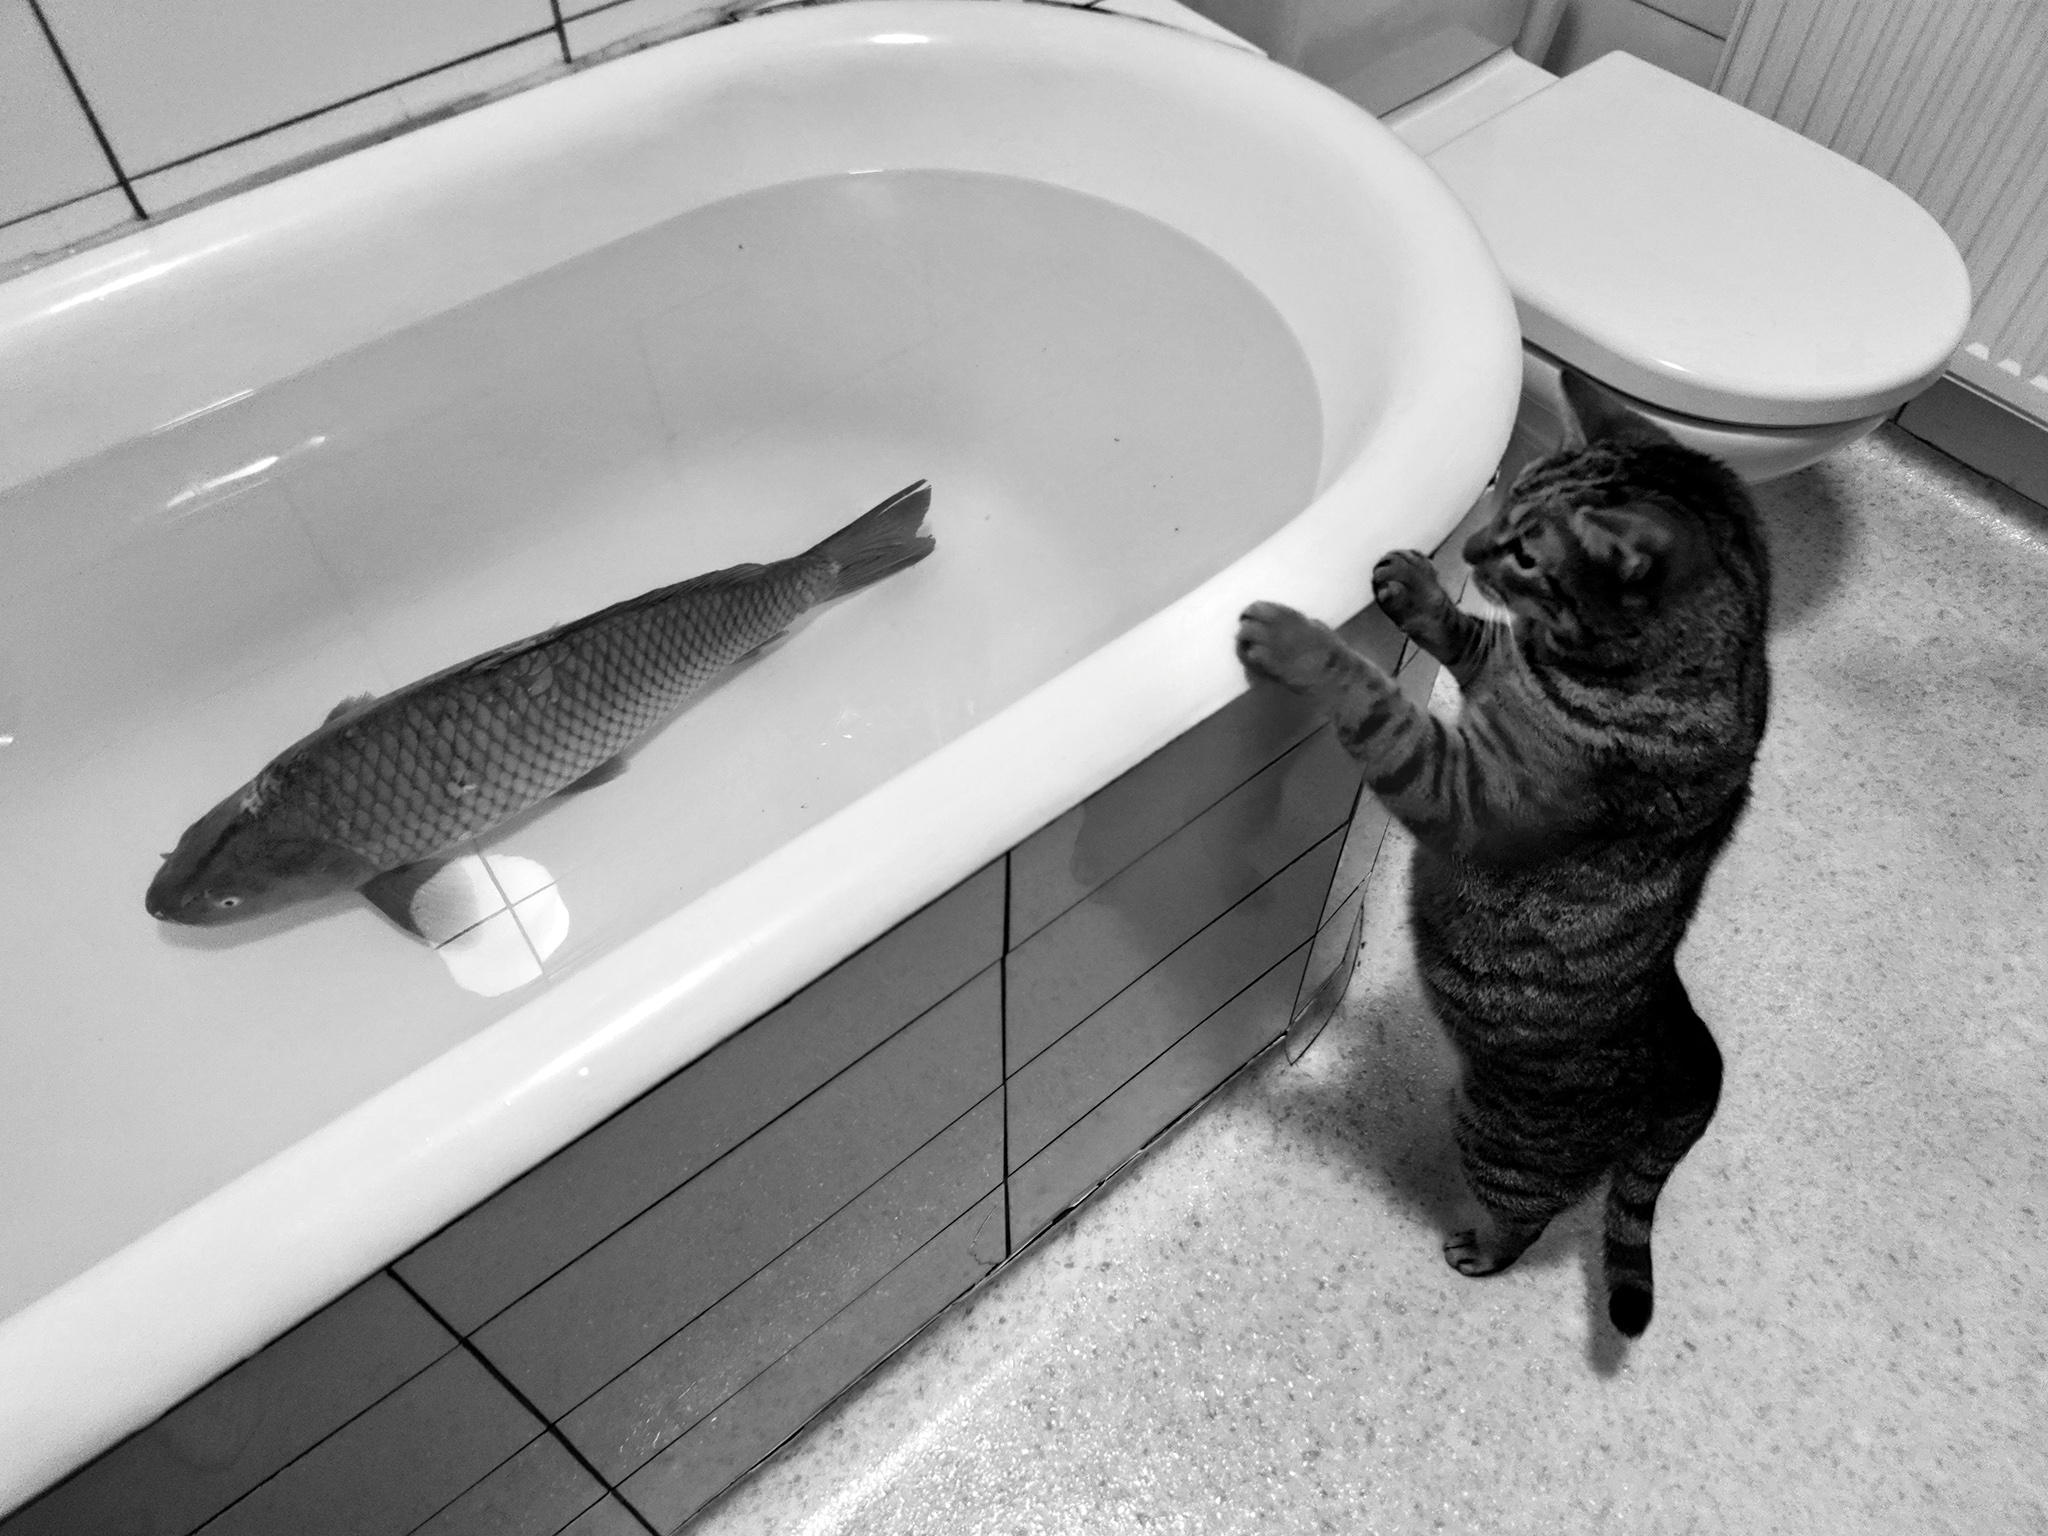
You see, in black and white, high-contrast areas become punchy and interesting. (It’s one of the reasons so many street photographers shoot in black and white!)
Now, you can do black and white conversions in camera, or you can make the adjustment during post-production. Either can work, though it does often help to know you’re going to shoot black and white in advance, as you can adjust your compositions accordingly.
Regardless of the approach you take, do be sure to make additional adjustments to your files in an editing program. Consider boosting the Contrast slider for a bit of extra pop (and you might also boost the Whites slider while reducing the Blacks slider to expand your image’s tonal range).
3. Use fill flash
If you’re faced by a high-contrast scene and you’re looking to do detailed portrait or product photography, fill flash can be an absolute lifesaver.
The idea here is to use your on-camera flash or a nearby off-camera flash to fill in any shadows produced by the light. You don’t want to get rid of the shadows completely, but you do want to reduce their intensity.
The toughest part of fill-flash photography is determining how to set your exposure. If you want to keep your subject looking natural while including a well-defined background, then I recommend you set your camera’s exposure so that the background is properly exposed, then use the flash to boost the foreground.
Of course, it may take some trial and error to get the exposure exactly right, and there’s nothing wrong with playing around to achieve different effects.
Note that you can create a similar – if slightly less powerful – effect using a reflector, so if you’d prefer not to deal with all the technical ins and outs of flash photography, consider grabbing a nice 5-in-1 reflector instead.
4. Use a graduated neutral density filter

Scenes with too-dark foregrounds and a bright backgrounds are very common in landscape photography because skies tend to be far brighter than foregrounds, especially at sunrise and sunset. But when shooting landscapes, the goal is generally to produce detailed images with limited contrast (not shots full of heavy shadows and blown-out highlights, as is characteristic of high-contrast photography).
So what do you do?
One option is to grab a graduated neutral density filter, which goes over your lens and blocks light from the top of the frame while leaving the bottom of the frame untouched. In other words, a graduated neutral density filter darkens skies so they can be better handled by your camera.
Good graduated neutral density filters do tend to be pricey, however, and they can be limited in their flexibility, which is why I recommend another option:
5. Blend your exposures
Whenever you’re faced with a high-contrast scene that’s unmoving – such as a high-contrast cityscape, landscape, or even still life – you can reduce the contrast using exposure blending.
The idea here is that you capture several images of your subject while adjusting your exposure. One image should expose for the dark portions of your scene, one image should expose for the light portions of your scene, and a third image should expose for the midtones of your scene.
(Note that you can capture more – or fewer – than three images. But three shots is a good starting point, and unless you’re dealing with an ultra-contrasty scene, extra photos won’t be necessary.)
You can then blend these pictures in Lightroom or Photoshop. The process is simple and automated: you upload your files, you tell the program they should be blended together, and you wait while the images are combined into a beautiful final exposure.
That’s how I captured this landscape:

First, I took three shots – one that exposed for the shadows, one that exposed for the sky, and one that exposed for the midtones.
Then I used software to blend the three images together!
6. Embrace the high-contrast effect

I’ve spent a lot of time explaining how you can reduce contrast when photographing high-contrast scenes.
But sometimes the best policy is to steer into the skid. Embrace the contrast, and you can capture some truly unique images.
For instance, you might deliberately shoot into the sun so you get a bright background and a shadowy foreground. (It’s a great way to produce silhouettes!)
Or you might find areas of the city with interesting shadows and use these to create graphic compositions. Look for interesting geometry, and consider combining the shadows with a human subject (e.g., wait until a person walks through the shadows and then capture a couple of shots).
As I emphasized above, high-contrast photos do look great in black and white, so it’s certainly an option to consider. But you can also create interesting high-contrast shots that include color, especially if you’re able to incorporate vibrant hues into the composition.
So experiment, have fun, and see what you get!
High-contrast photography: final words
Hopefully, you now feel ready to tackle some high-contrast scenes.
Just remember: There is no single right way to approach high-contrast photography. You can reduce the contrast using fill flash, filters, or post-production – but you can also embrace the contrast for beautiful results.
Now over to you:
Which of these high-contrast photo strategies do you plan to use? Share your thoughts in the comments below!


 English (US) ·