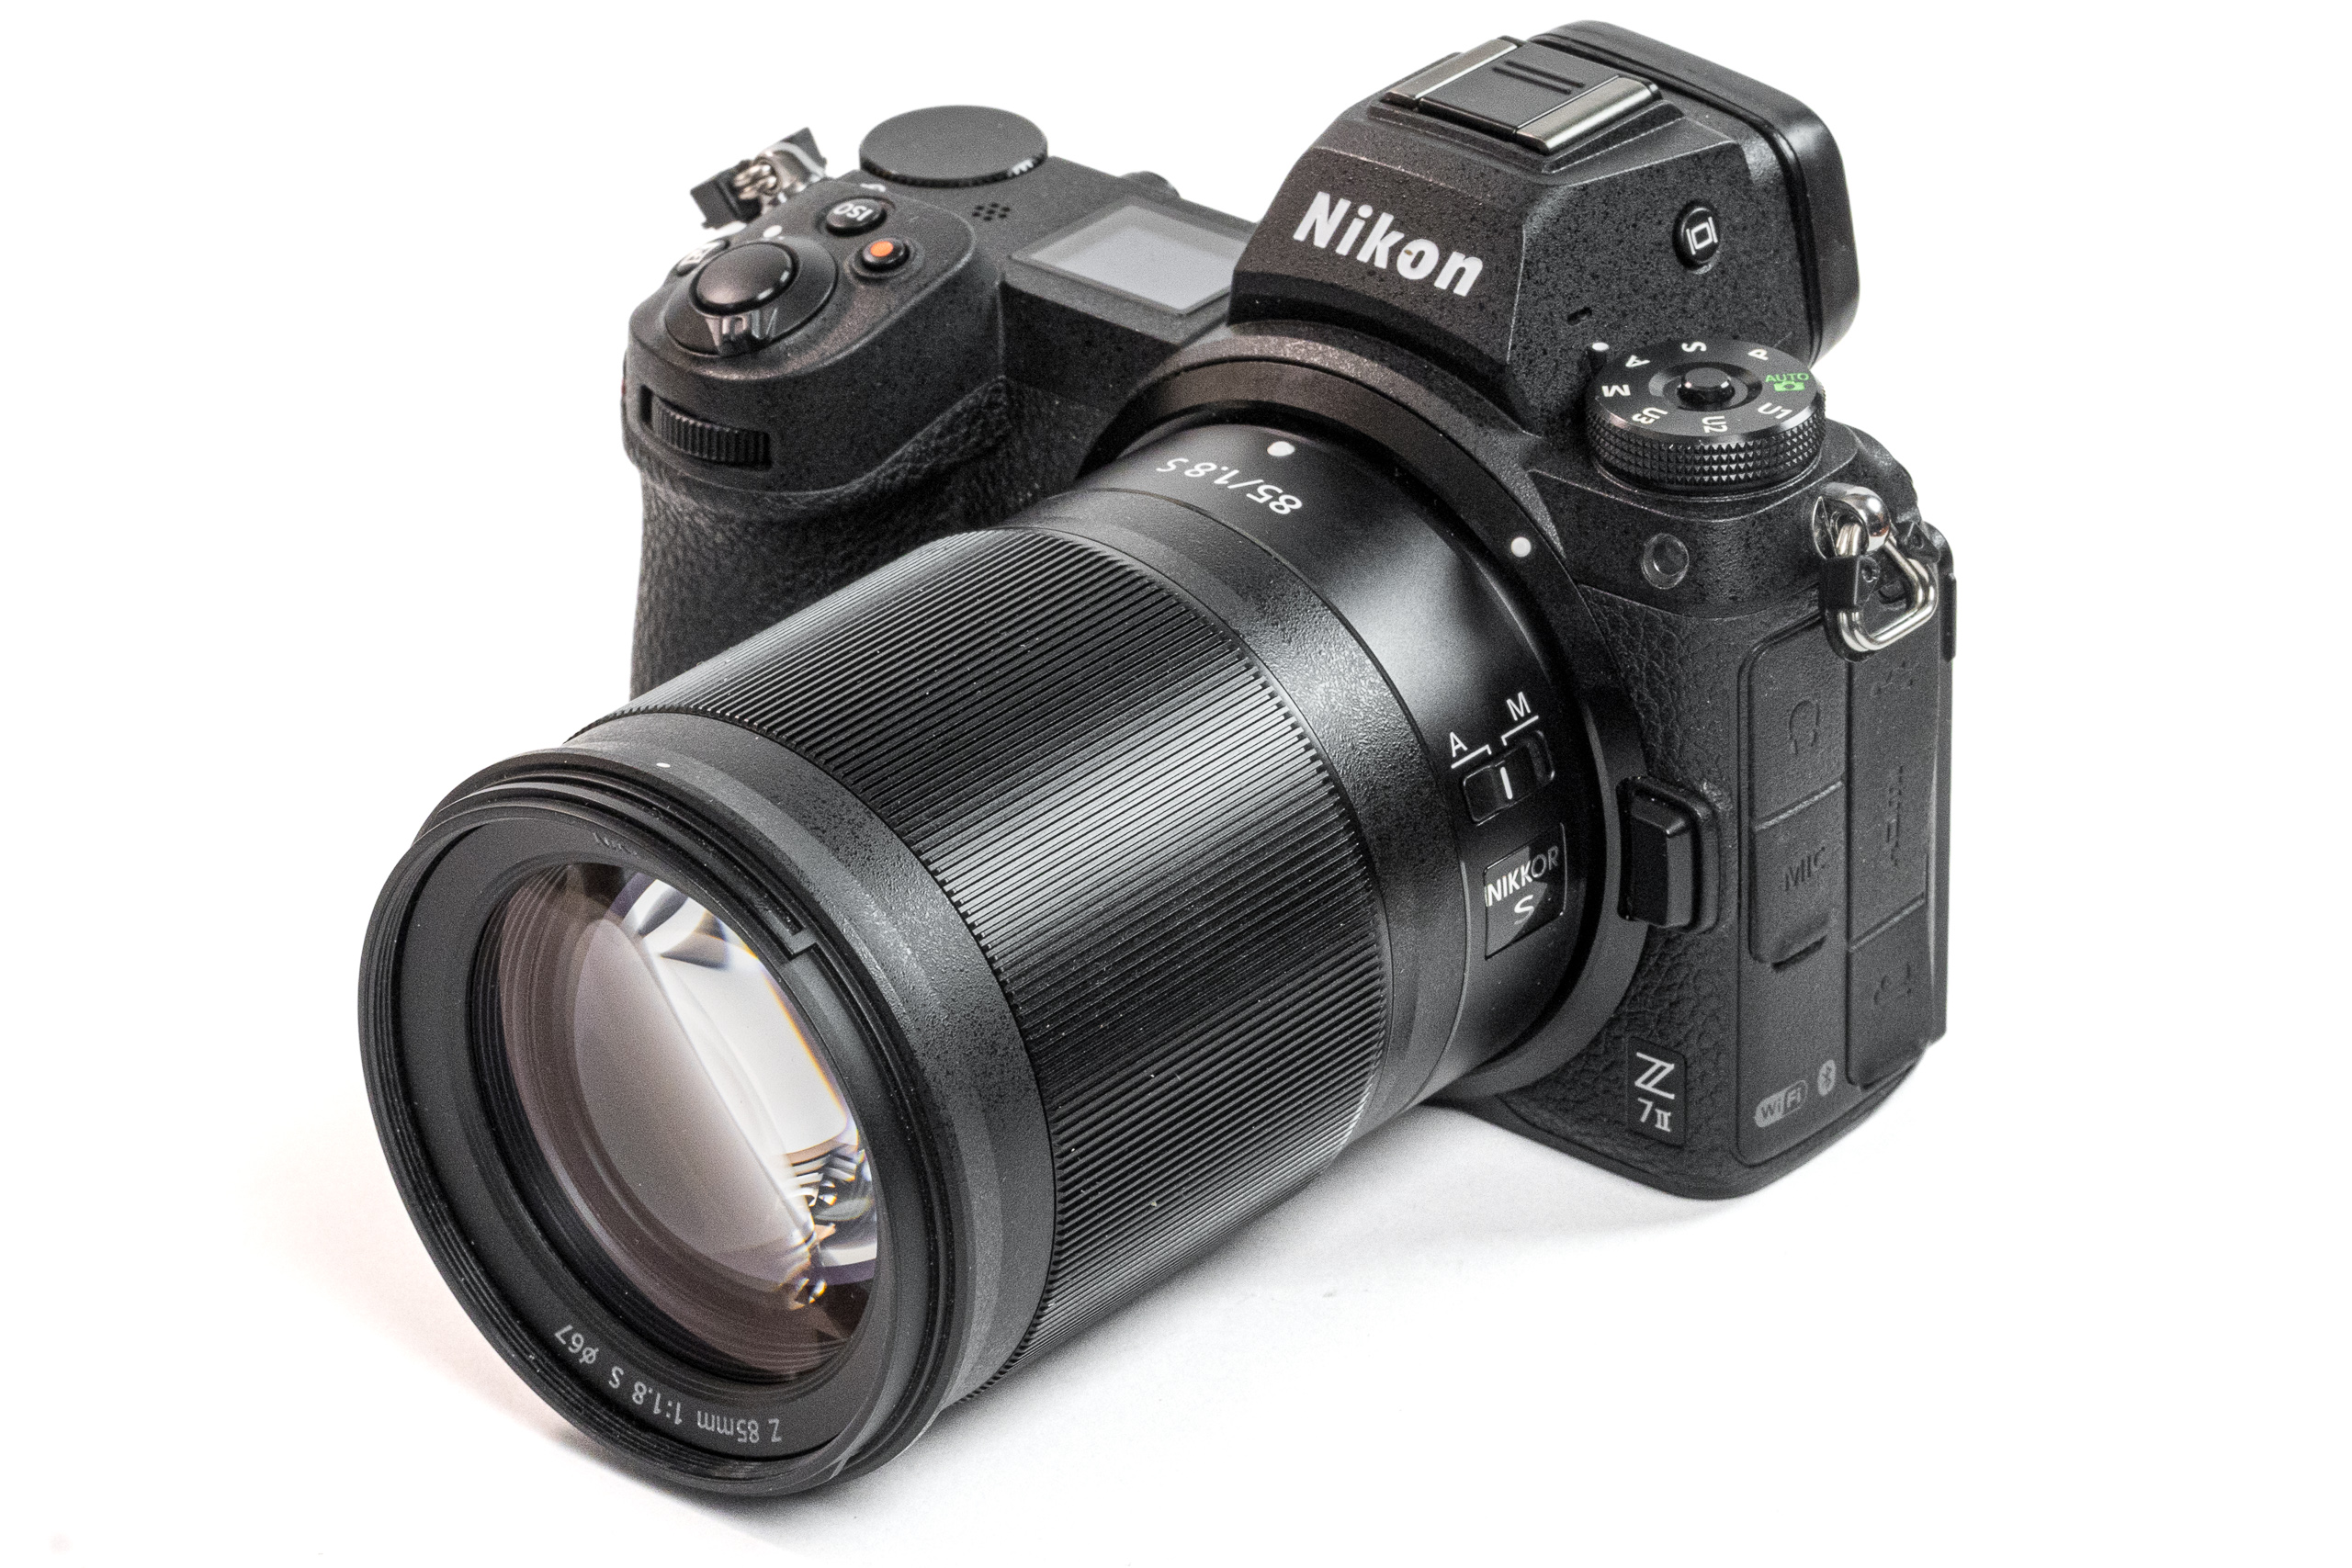
There are plenty of bargains out there for older lenses that can be mounted directly on modern cameras, or by using an affordable adapter depending upon the specific brands. And not only are these vintage options cheap, but sometimes they outperform their modern counterparts in term of imaging characteristics and build quality.
But here's where you can run into problems when purchasing a lens sight-unseen from an unknown seller on the Internet: Vintage lenses, especially those that have been stored incorrectly, occasionally have fungus on their internal elements that can easily degrade image quality.
There's good news if you've been stuck with one of these lemons, as you'll see in this tutorial from the DIY Extravaganza YouTube channel—a popular sources for camera repair tips, product comparisons and other do-it-yourself advice of interest to photographers.

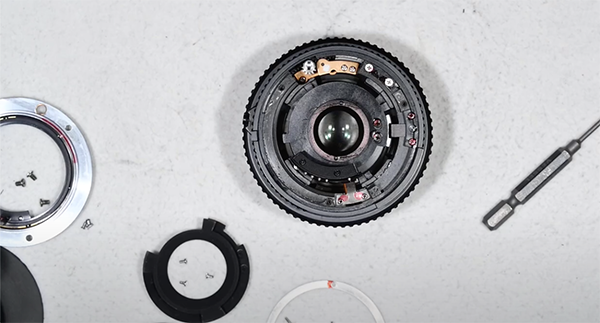
This episode is all about a safe method for cleaning fungus from contaminated lenses that are otherwise reliable, instead of dealing with the hassle of returning them and searching for a replacement. Our unnamed Swiss instructor explains everything you need to know. He demonstrates how it works with an old AF Nikkor 35-70mm zoom, but the process is pretty much the same regardless of the lens in need of thoughtful TLC.
We're not going to summarize the process in great detail because it's really necessary to watch the 20-minute lesson to fully comprehend the straightforward procedure so no damage occurs. You'll have to disassemble the lens to reach any internal fungus by first removing the "beauty ring that surrounds the element.
We'll let the expert take it from there, as he further illustrates the teardown process, explains the cleaning materials to use, then cleans his bargain lens and put everything back together in tip-top shape. It's actually a fun project, especially if you have very little invested in your patient.

There are links in in the description beneath the video to more advanced instructions—just in case you run into a problem with an unusual lens that's difficult to take apart. Once you're done, check out the DIY Extravaganza YouTube channel for more helpful DIY advice.
And speaking of restoration, be sure not to miss the tutorial we posted earlier in which another pro demonstrates how to return damaged photographs to their original splendor using Photoshop's new and improved post-processing tools.


 English (US) ·